
Tinkercad was launched by Autodesk in 2011, mainly for creating 3D models and solid geometry in schools. Tinker cad is basically an online designing platform which contains software tools from Autodesk. You can also design circuits and anything you want. Moreover, this software is totally free and easy to use. Hence, one doesn’t need any prior design experience – Tinkercad can be used by anyone. Also, all of your designs are stored in the cloud. Getting started with tinker cad, what we first need to do is to create a tinker cad account.
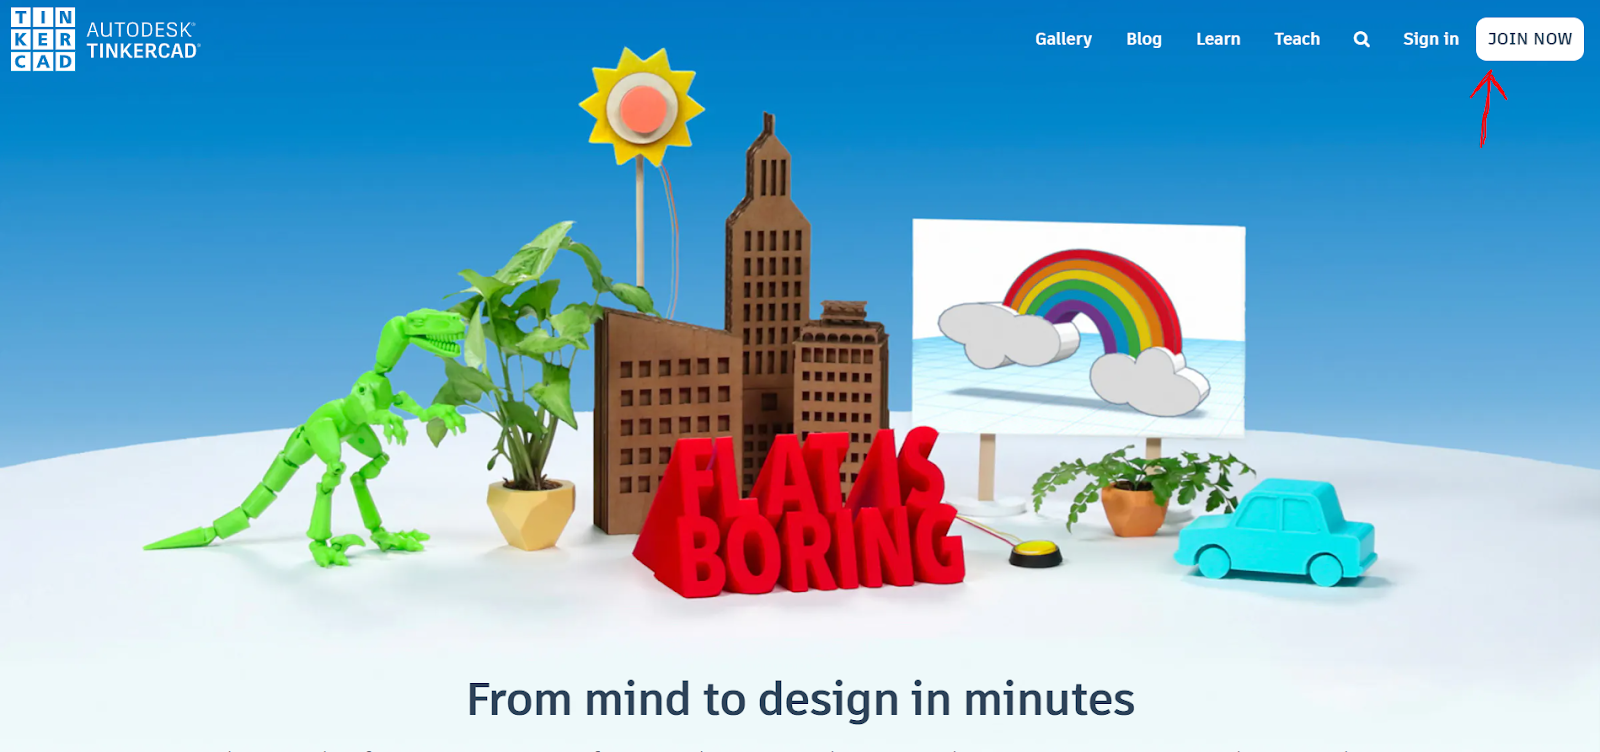
therefore, To create an account, go to www.tinkercad.com and the home page will be visible to you. so, Click on the join now, an option in the top right corner and fill out your information. also, This will take you to the home screen.
however, In the centre of the screen, you will see your project dashboard. so, This will show you all your recent projects. thus, All your work is saved on the cloud itself. You don’t have to save it as a file in your system.

On the left-hand side, you’ll see the different project types, 3D designs, circuits, lessons. You can choose any one of them according to what you want to create.

On the top of the website, there are three main tabs i.e. discover, learn and design.

however, The discover tab has a lot of different models that you could follow. so, If you wish to see how a particular model was made, you could use the copy and tinker button.
The learn tab has a lot of built-in tutorials and project lessons. To create a new design, click on the design at the top and then click design a new thing.

On the right-hand side of your screen, you will thus see a list of the tools available on Tinkercad. so, To choose a tool, just click and drag the tool to the design area. To change the size, click and drag the corner marks on the image.

Some keyboard shortcuts:-
- ←/ ↑/ →/ ↓ = Move an object on the plane
- ctrl + ↑/ ↓ = Move the object up or down
Press and Hold the keyboard keys and click/drag the mouse for these shortcuts.
- Ctrl + Y = Redo An Action
- Alt + left mouse button = Duplicate object
- ctrl + C = Copy an object.
- ctrl + V = Paste an object
- Shift + Left Mouse Button = Choose Over One Object
- Shift + Hold While Rotating = 45 Degree Rotations
- ctrl + Z = Undo action
- Ctrl+ G = Cluster Objects.
- Del = Delete An Object
- ctrl + shift+ G = Un-group clustered objects
- ctrl + D = Duplicate Object
Object Options:
- T = Transparency Toggle
- H = To create an object a hole
- S = To create an object solid
- ctrl + L = Lock or unlock objects
- ctrl + H = Hide object
- ctrl + shift + H = All hidden objects visible again
Changing object size:-
- Alt + click and drag side handle = Scaling in 1 direction
- Alt + click and drag corner handle = Scaling in 2 directions
- Shift + click and hold corner handle = Uniform Scaling
- Ctrl + A = Choose all visible shapes
So that’s the basic navigation of using objects and working in Tinkercad. You could also use the above-mentioned shortcut keys to easily perform the operations. So now, when you go into your design lessons, you already have an idea about how to work with Tinkercad and design what you want within no time.
Written by: Aparna Chaurasia
Reviewed by: Batta Pruthvi
If you are Interested In Machine Learning You Can Check Machine Learning Internship Program
Also Check Other Technical And Non Technical Internship Programs